


If you're just starting out these are a great one to try. The tips are small and easier to control. I use these a lot when I was practicing drills and getting muscle memory. These two look similar but they're a spot different. One has a hard tip and the other a soft tip (both are rather firm). I liked these for learning control. These let you do smaller letters but you can still produce a nice sized letter. They're very nice quality and a good deal for the price.


Yeah you do a LOT of drills. Hundreds and hundreds with strokes then combining them to make letters.
(Fude pack--Amazon)


For paper I'd recommend either using tracing paper or a Rhodia notebook. They come in a variety of sizes and types. Lined, dot or grid.
Why this instead of regular paper? The smoothness. It's super smooth which will help your pens/markers last longer and not fray with the vast amount of drills you do while learning. It also just makes doing the letters easier since the brush glides along and the paper doesn't try to grip it. This made a big difference when I was trying to get strokes figured out.
(Rhodia Pads-- AMAZON)

Okay so this wasn't lettering but it was crafting/drawing. I've been using this in my planner for shading. It's used with colored pencils so you can blend them so you don't see each individual stroke. You can also blend colors and fade them away.

Basically you use a blending stump (amazon) and dip it in the mineral spirits and then rub over any colored pencil markings and it kind of erases the stroke marks and blends them.
( mineral spirits--AMAZON)

Ahhh mildliners. Similar to highlighters but a softer coloring.
I've actually used these with lettering, too.

Pics a little blurry, sorry! You can do lettering with pretty much any pen or marker. Your technique/way you hold the pen just has to change a little to make the thick and thin lines. I would NOT recommend learning your strokes using one of these, though. Start with a regular pen/brush that's made for lettering.
(mild liners-- Amazon)

A lot of people use Tombow Dual Tips. The great thing about these is the vast amount of colors. There are dozens available.
They are harder to use when you're learning, though. The tip is a little more flexible and harder to control. They're also pretty expensive. But they are nice pens. Now that I've been lettering a few months and have the motions down I can use these without much trouble. But they were hard early on. They're nice for blending colors, too.


These are used for large lettering.
(Tombow Dual Tips-- Amazon)

My favorite pen to work with is Artist Loft Dual Tips. So I have LOTS of pretty examples of these. lol They're basically the knock off of the Tombow pens. These are the name brand for Michaels Craft Store.

These are used for large lettering.


I use these most often when doing pretty words and not drills. Though, you can use them for drills, too. They just fit me best of everything I've tried.
These need to be bought in store, sadly.
Prismacolor Brush Pens


For small brush lettering I like the Prismacolor Brush Tips from Michaels.

They have a nice small brush that's very flexible.
They're pretty easy to control and nice quality.
You can do a wide variety of letter sizes with them, I think.
The color choice is very limited, though. There are only 8 options.
But nice for practicing.
(Prismacolors-- Amazon)
The meritorious image. One other neat thing is that you can use the Artist's Loft and Tombow Dual tips to do kind of water coloring. The back ground of that one was done using Artist's Loft. I rubbed color on a plastic mat, sprayed with water, then laid the paper in the color and let dry before lettering over it.


Like I mentioned earlier. You can letter with pretty much anything.


Crayola or any type of markers work great, too!
And talk about cheap!I've tried both the Crayola Super Tips and just regular washable markers for this post and both work well. I've not worked with them much so not great with them yet. But I like them for a cheap alternative.
(Crayola Markers-- Amazon)
I did NOT do this one but wanted to show a good example of crayolaligraphy.
It can look amazing!


Sharpie has a brush tip pen, too!
These are fairly cheap and work well.
These are fairly cheap and work well.
Nice thick strokes and a little color variety.


The downfall is they bleed VERY badly. And they have that strong sharpie smell.
But if you're wanting to do large letters on something other than regular paper these, I think, would do great.
(Sharpie Brushes--Amazon)


This is a new one I'm trying out. I'm a spot iffy on it. It's a little too firm of a brush for what I like and similar size to the prismacolors which I prefer. But it is an option and some people love them.
(Faber Castell-- Amazon)
Heck you can even use regular pens with no special tip.
Just write your word then add in some layering.
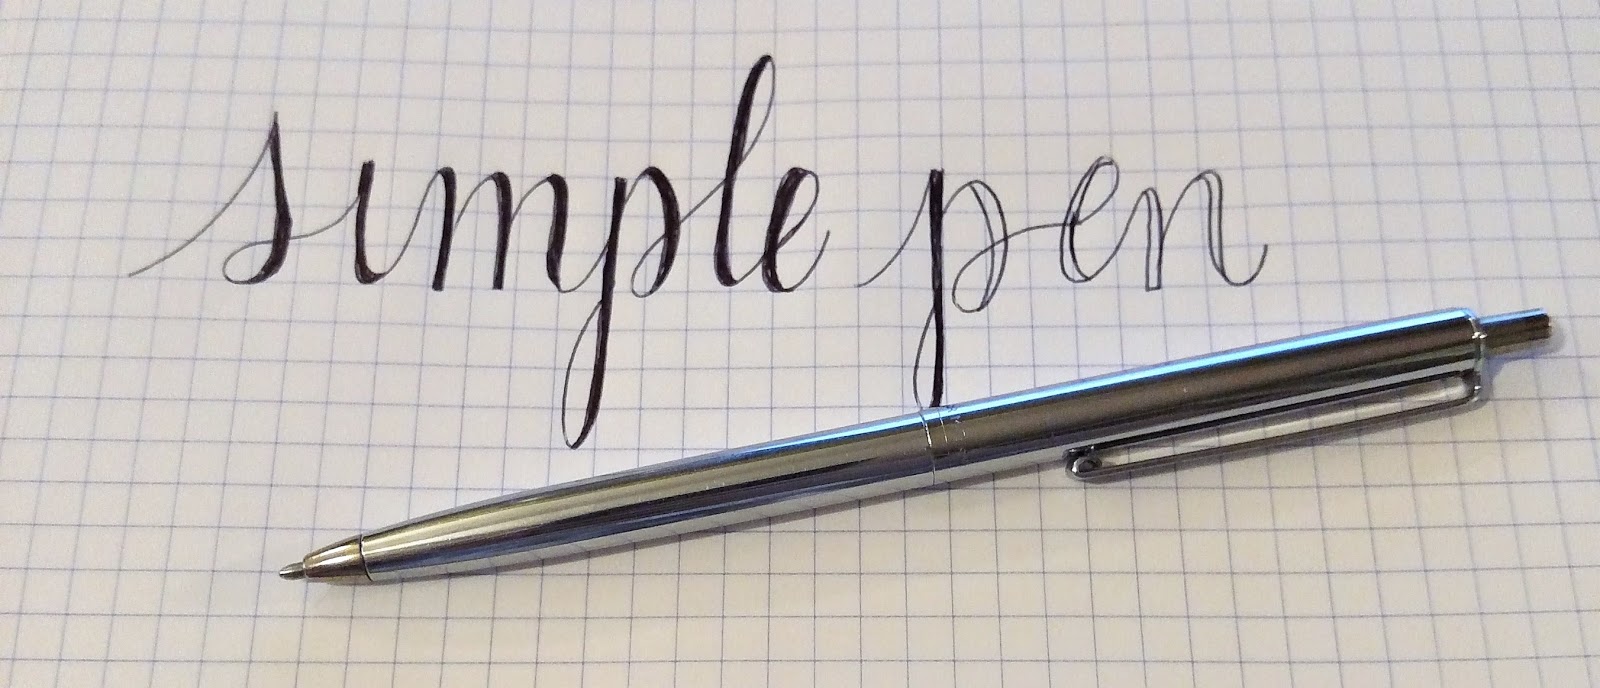
The great thing about lettering is you can make it your own. If something can lay down ink...you can make it work. You can do specific drills to get your letters to look exactly the same or go with the flow and make your own style.

She went on to lower and uppercase lettering challenges but her cost for those were ridiculous high and I was like no way.
I started Jan 1st.
If you have any questions about techniques I used or types of pens let me know and I'll try my best to answer. I'm still a relative newbie :D

One pen I've picked up recently is the Uni-Ball Signo Gel Pens.
These are white and for adding detail to letters. I love them! And they're pretty cheap for a pack of three.

(Amazon)

And the Pentel Aquash Water Brush.
This is for adding new styles to my list. The Work It was done using the water brush pen. It was originally crisp like the Worth It.
This is SUPER easy to use. You just fill the pen with water then brush.
You can do one of two techniques. 1) use it just for blending things you've already written-- what I did or 2) you can use it to directly paint on color using purchased inks you dip it into. I've not done that yet.

(Amazon)

No comments:
Post a Comment
I always enjoy hearing what YOU think so come on and leave a comment. Everyone's welcome :) And feel free to leave comments on old posts. I'll check in on you there too :)
Bloggers don't forget to leave your links!
~Anna